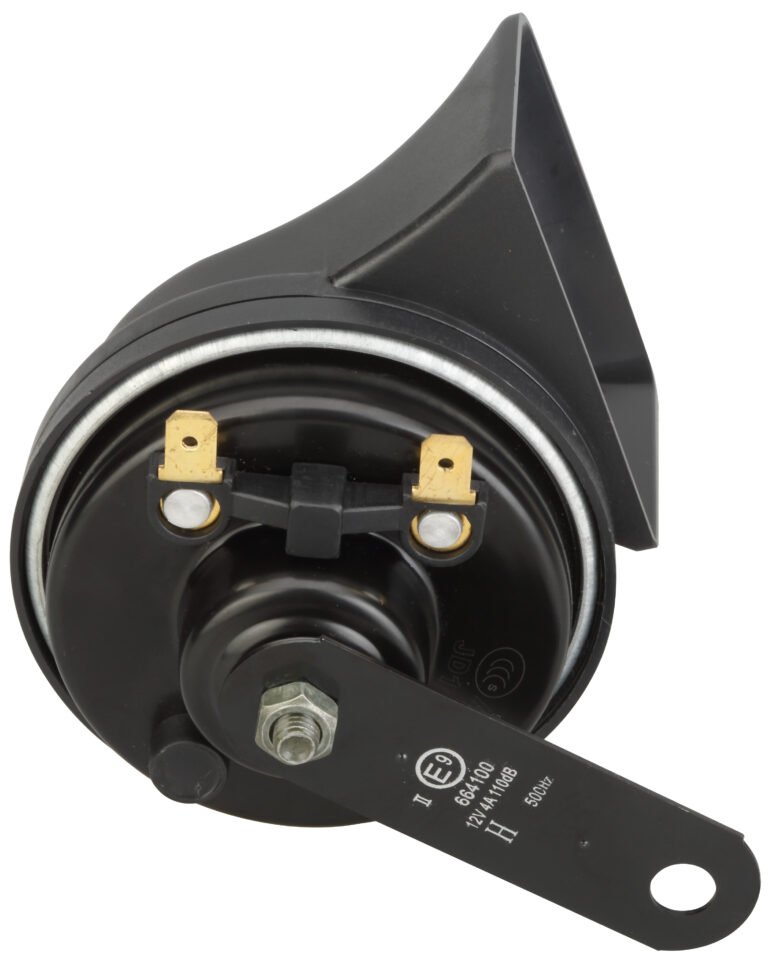
If your car horn doesn’t work, you’re compromising your safety and your ability to communicate with other drivers. If your horn is not working, you’re in danger because you have no way to tell other people on the road that you’re there. This step-by-step guide will show you how to replace your car horn quickly so you can get back on the road.
Replacing your car horn is crucial to your safety and to your ability to communicate with other drivers. Follow these steps to make sure you choose the right tools and process for your successful installation.
Let’s explore the importance of a functional horn and the steps to replace it effectively.
Understanding the Importance of a Functional Car Horn
Your car horn is your way of communicating with the world while you drive. It tells pedestrians and other drivers you’re there, especially in an emergency. If your horn doesn’t work, you have no way to tell people about the danger they’re in. You can’t warn them about the hazard they’re about to step into. You can’t tell them they’re about to back into you. You can’t tell them anything. You need to check your horn to make sure it’s working. You need to check it for safety. You need to check it to make sure it works. You need to check it to make sure it’s loud enough. You need to check it to make sure it’s reliable. You need to check it to make sure it’s legal. You need to check it to make sure it goes beep beep and not beep.
Tools and Materials Needed for Replacement
Before you start, get your tools together. You’ll need a socket set, flathead and Phillips head screwdrivers, and a pair of pliers. You’ll also need a new horn. You can choose from air horns or electric horns, whichever one you prefer. Make sure your replacement horn is sturdy and has a loud sound. Get your tools and materials together before you get started.
Step-by-Step Replacement Process
1. Prepare your vehicle: Park your car on a flat surface and turn off the ignition. Disconnect the battery so you don’t have any electrical problems while you’re replacing the horn.
2. Find your old horn: It’s usually located near the front of your car. It’s either behind the grille or near your engine. Check your owner’s manual to find the exact location.
3. Disconnect your old horn: Take off any fasteners that are holding your horn in place. Disconnect the wiring harness, and make a note of how it’s connected.
4. Install your new horn: Put your new horn in the same place as your old horn. Reconnect the wiring harness, and attach it with the original fasteners. Make sure it’s solid so it doesn’t vibrate while you’re using it.
5. Reconnect your battery: Once you’ve got your new horn securely fastened, reconnect your battery. Test your horn to make sure it works.
Testing the New Horn
Test the new horn to see if it works. Press the horn button to see if it makes a loud, clear sound. If it sounds weak or doesn’t make any noise, double-check your connections and make sure you have the horn fastened securely. Sometimes, you might have to move the horn around or change the angle to get the sound you want. Test your horn to make sure it works.
Maintenance Tips for Your New Horn
To make sure your new car horn lasts as long as possible, you need to take care of it. Check the connections on your horn to make sure they don’t have any corrosion or loose wires. Pay special attention to any connections that might get wet. Clean your horn to keep it from rusting, which can affect the sound. Test your horn every once in a while to make sure it works.
In conclusion, you need to replace your car horn to keep yourself safe on the road. Follow these steps to replace your horn and make sure it works for a long time.


