
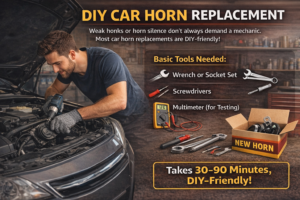
That annoying weak honk or complete horn silence doesn't always require a mechanic. Many drivers can handle horn replacement with basic tools and proper guidance.
Most car horn replacements are DIY-friendly jobs requiring only basic tools, typically taking 30-90 minutes to complete, though some vehicles may present special challenges.
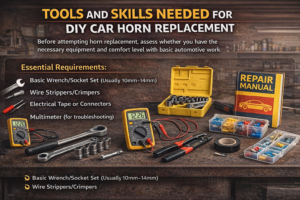
Tools and Skills Needed for DIY Car Horn Replacement
Before attempting horn replacement, assess whether you have the necessary equipment and comfort level with basic automotive work.
Essential requirements:
- Basic wrench/socket set (usually 10mm-14mm)
- Wire strippers/crimpers
- Electrical tape or connectors
- Multimeter (for troubleshooting)
- Vehicle-specific repair manual
DIY Difficulty Assessment
| Skill Level | Tasks You Can Handle | Recommended Approach |
|---|---|---|
| Beginner | Simple bolt-on replacements | Follow detailed guides |
| Intermediate | Wiring modifications | Use proper connectors |
| Advanced | Custom installations | Consider relays |
| Professional | Complex systems | Leave to experts |
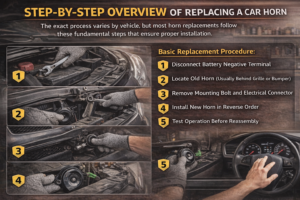
Step-by-Step Overview of Replacing a Car Horn
The exact process varies by vehicle, but most horn replacements follow these fundamental steps that ensure proper installation.
Basic replacement procedure:
- Disconnect battery negative terminal
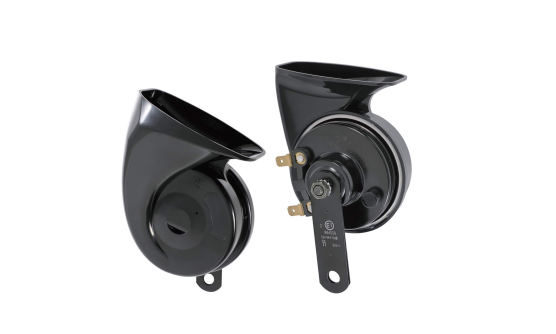
- Locate old horn (usually behind grille or bumper)
- Remove mounting bolt and electrical connector
- Install new horn in reverse order
- Test operation before reassembly
Time Estimate for Common Vehicles
| Vehicle Type | Access Difficulty | Estimated Time | Special Tools Needed |
|---|---|---|---|
| Sedan | Easy | 30-45 minutes | None |
| SUV | Moderate | 45-75 minutes | Trim removal tools |
| Truck | Easy | 30-60 minutes | None |
| Luxury Car | Difficult | 1-2 hours | Special fasteners |
| Classic Car | Variable | 1-3 hours | Penetrating oil |
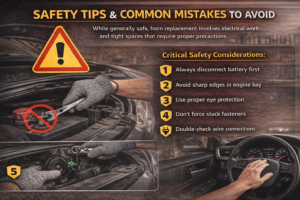
Safety Tips and Common Mistakes to Avoid
While generally safe, horn replacement involves electrical work and tight spaces that require proper precautions.
Critical safety considerations:
- Always disconnect battery first
- Avoid sharp edges in engine bay
- Use proper eye protection
- Don't force stuck fasteners
- Double-check wire connections
Common DIY Mistakes and Solutions
| Mistake | Consequence | Prevention |
|---|---|---|
| Wrong polarity | Horn won't work | Match wire colors |
| Overtightening | Broken mount | Use torque wrench |
| Poor grounding | Weak sound | Clean contact points |
| Wrong location | Water damage | Follow OEM position |
| Skipping test | No confirmation | Verify before reassembly |
Conclusion
Most drivers can successfully replace their car horn with proper preparation, basic tools, and attention to safety - saving significant repair costs.
TIAN
FHL GBSY JS-TECH Automotive Safety
info@jindongauto.com
www.jingdongparts.com
Precision Engineering · Safety First · Reliable Performance